Image formats
Who never had an awfuly pixelated result when increasing the size of an image to fit a slide presentation ? Knowing more about the image formats can help us to achieve a higher quality work.
Because every image is displayed in the same way on our computer screen (or the paper we printed), we may get the impression that they are all the same. But we have at our disposal several formats, each with it own strengths and weaknesses. Knowing each of them will help us make the right decisions and achieve a high-quality final result.
Raster and Vector images
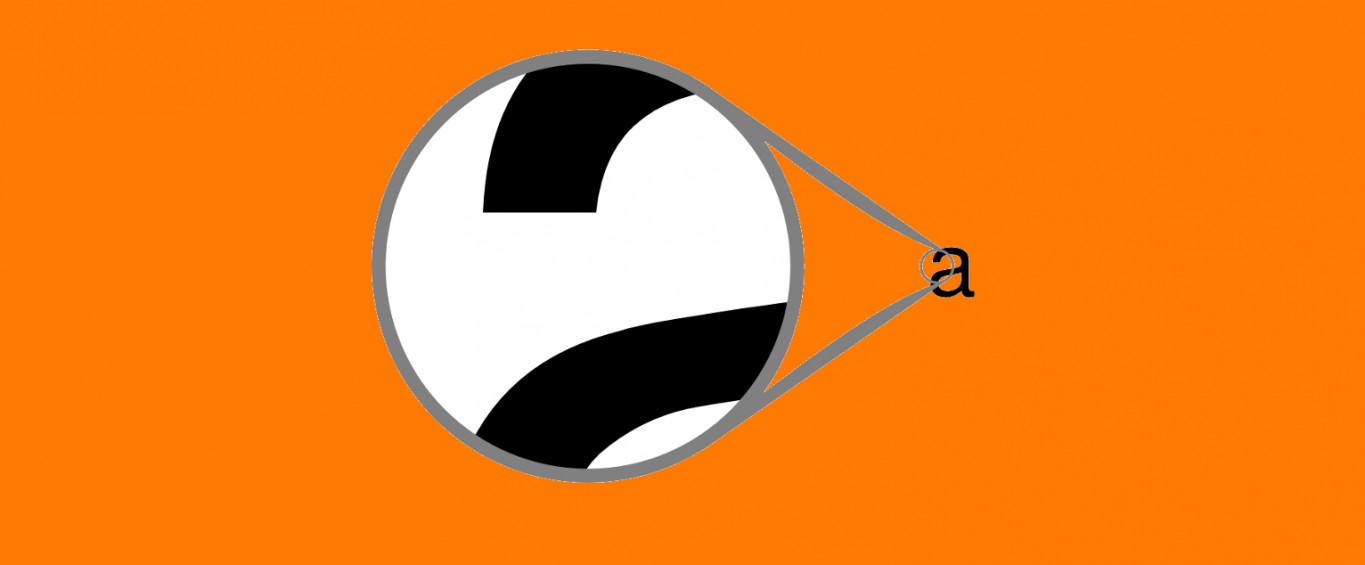
First of all, we need to understand that there exist two very different kinds of images : Raster images are the ones we are more used to facing with digital media, and are made of a pixel matrix. For example, the photos we take with any digital camera are raster pictures. Vector images are composed of a set of geometric shapes, defined by mathematical equations. This means that we can increase the size of vector images as much as we want and we won't face problems with pixels. An example is the TrueType fonts we use daily. As you know, you can indefinitely increase the size of your text, and it will always be rendered in high quality.

Images formats
Knowing the strong and weak points of each image format is the key to making the right decision when exporting work. Here we take a look at the most common formats, starting with Raster images.
JPG or JPEG
Those are the most common image files we can find. The JPG compression format is really efficient, but must be used with care, as it is a “lossy” format, meaning that inevitably we will face some degradation of the image during the compression process. To put it simply, the algorithm divides the image in small blocks that are subjected to a high-frequency filtering. As a result, the size of the image file decreases considerably, but with the loss of fine detail. If we need to reduce the size of very large images, with rich texture (especially photographs), the JPG compression fits well. However, the algorithm may not work so well with really soft gradients, thus making the compression blocks noticeable.
It’s important to note that each time we export an image as a JPG file, we can choose the ratio of compression, on a scale from 0 (smaller file size, bigger image distortions) to 100 (bigger file size, smaller image distortions)
Indicated for: Photographs, large images, if you need small file-sizes
Avoid if: Scientific data, images with thin details or text


PNG
This format offers some advantages over the JPG standard, mainly the possibility to use transparency and lossless compression. The transparency is possible thanks to another extra channel that controls the opacity of the pixels (known as alpha channel). Of course, this comes at the cost of increased file size, but this is nothing that we should be worried about for small or medium sized images.
Indicated for: Images with transparency (alpha channel), images in high quality
Avoid if: Really large images (photographies)
TIFF
On the majority of cases, this is the file format of choice when handling scientific images, as it can work without compression (or lossless compression), support multi-page documents and also all the embedded metadata you may need. Tiff files can also handle 16-bit images (Values ranging from 0 to 65535) instead of the 8-bit that JPG or PNG are limited to (values from 0 to 255 for each channel). This is essential when working with microscopy images : the cameras usually support a dynamic range larger than 8-bit, meaning that we could lose information when using PNG (despite lossless compression). The fact that this format supports multi-page documents makes it simple to store microscopy Z-Stacks in a single file (In fact, you can store n-dimensional data).
Indicated for: Scientific data, cases where you have more than 8-bit per channel
Avoid if: Images for presentations or web display
GIF
The GIF format presents several limitations, but comes with the versatility of being able to show animations. The main drawback : GIF images can only use 8-bit for all color information, making it possible to display only 256 colors (JPGs and PNGs are also 8-bit, but for each one of the Red, Green and Blue channels, while GIF only works with one channel). This comes from the time when computers could only handle 256 colors, so it made sense to compress the image, thus limiting the number of colors. Nowadays, where all computers are able to display millions of colors, images can look really strange when compressed with the GIF format. The main purpose of GIF files nowadays is to quickly display short animations
Indicated for: Short animations
Avoid if: Basically, any case that isn’t an animation. Other file formats are much more indicated nowadays.

SVG
The most standard format for vector graphics. We must keep in mind that vectors are a group of objects, not a group of pixels. For vector images, we encounter no problems of compression or pixelization when increasing the image size, making vectorial images the right choice if you need to draw a diagram, or a figure, from the beginning.
Indicated for: Diagrams, drawings, icons, pictograms or any other similar media
Avoid if: You are working with real photographs, or images with texture
More tutorials

In this tutorial, let us consider the impact of resolution on printed images.

A short introduction to Scribus, the right open source tool for posters.
